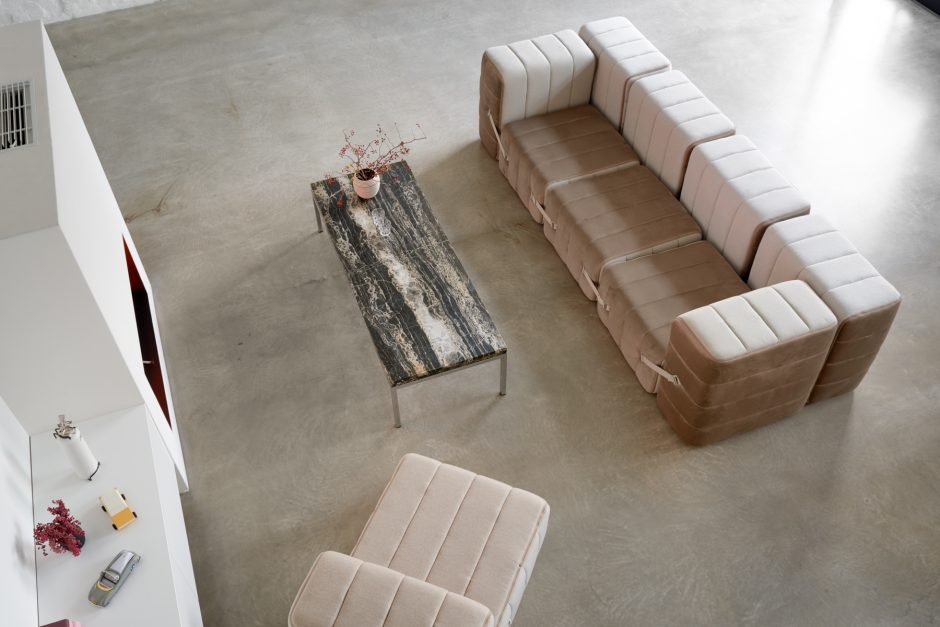
Curt Sofa system
The flexible modular sofa
Discover the endless possibilities of the Curt sofa system. Finally a sofa configurator that has earned its name. Tinker here, tinker there, make it colorful, make it round … although that’s the only thing that’s not so easy!
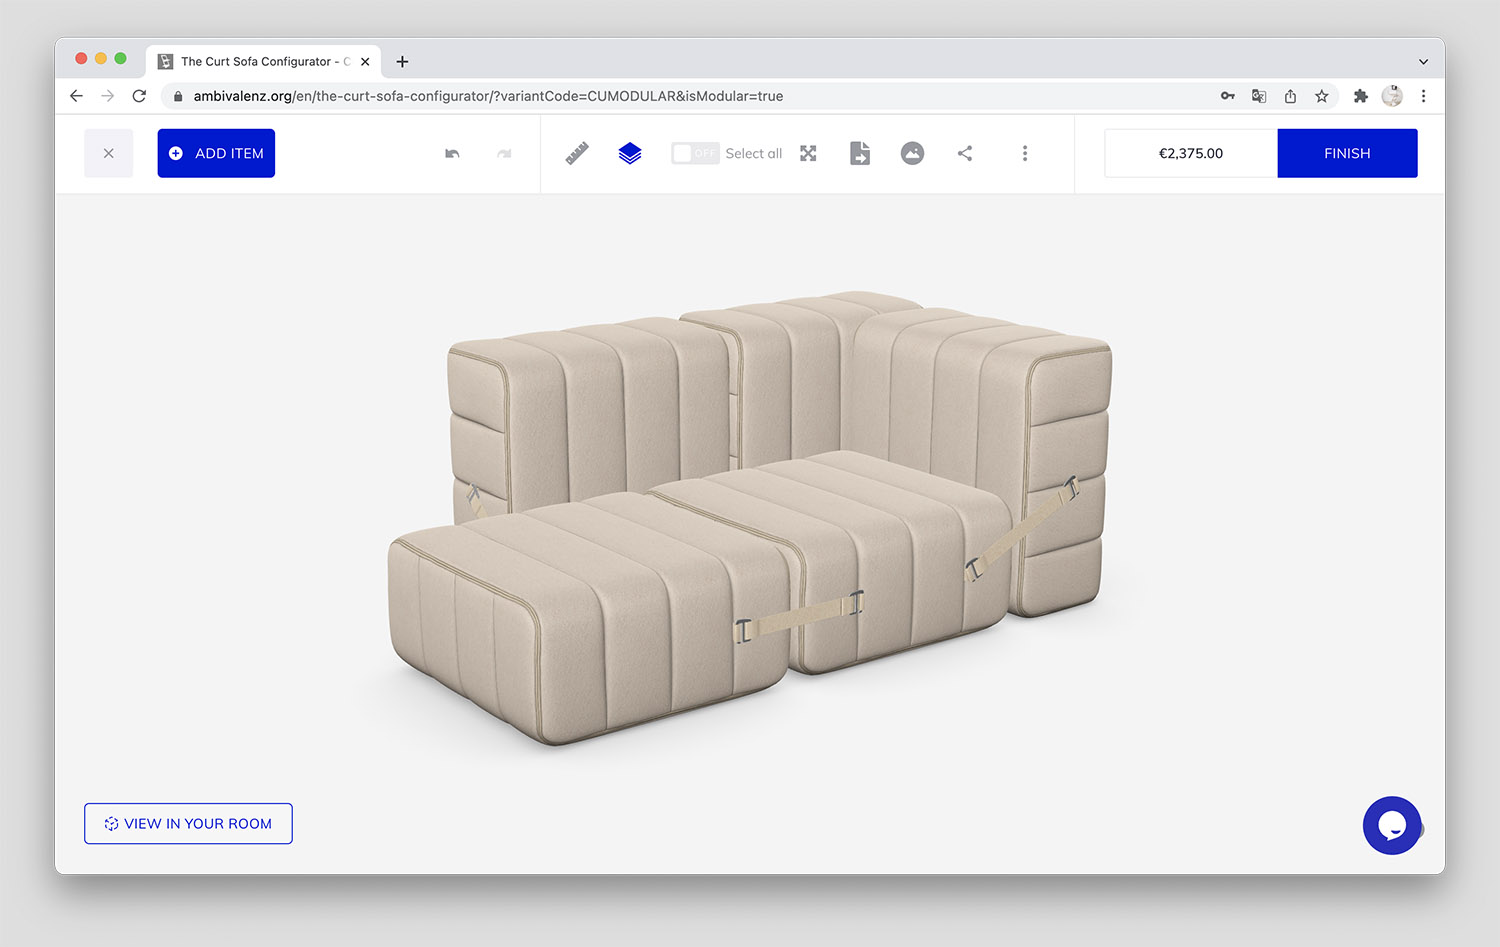
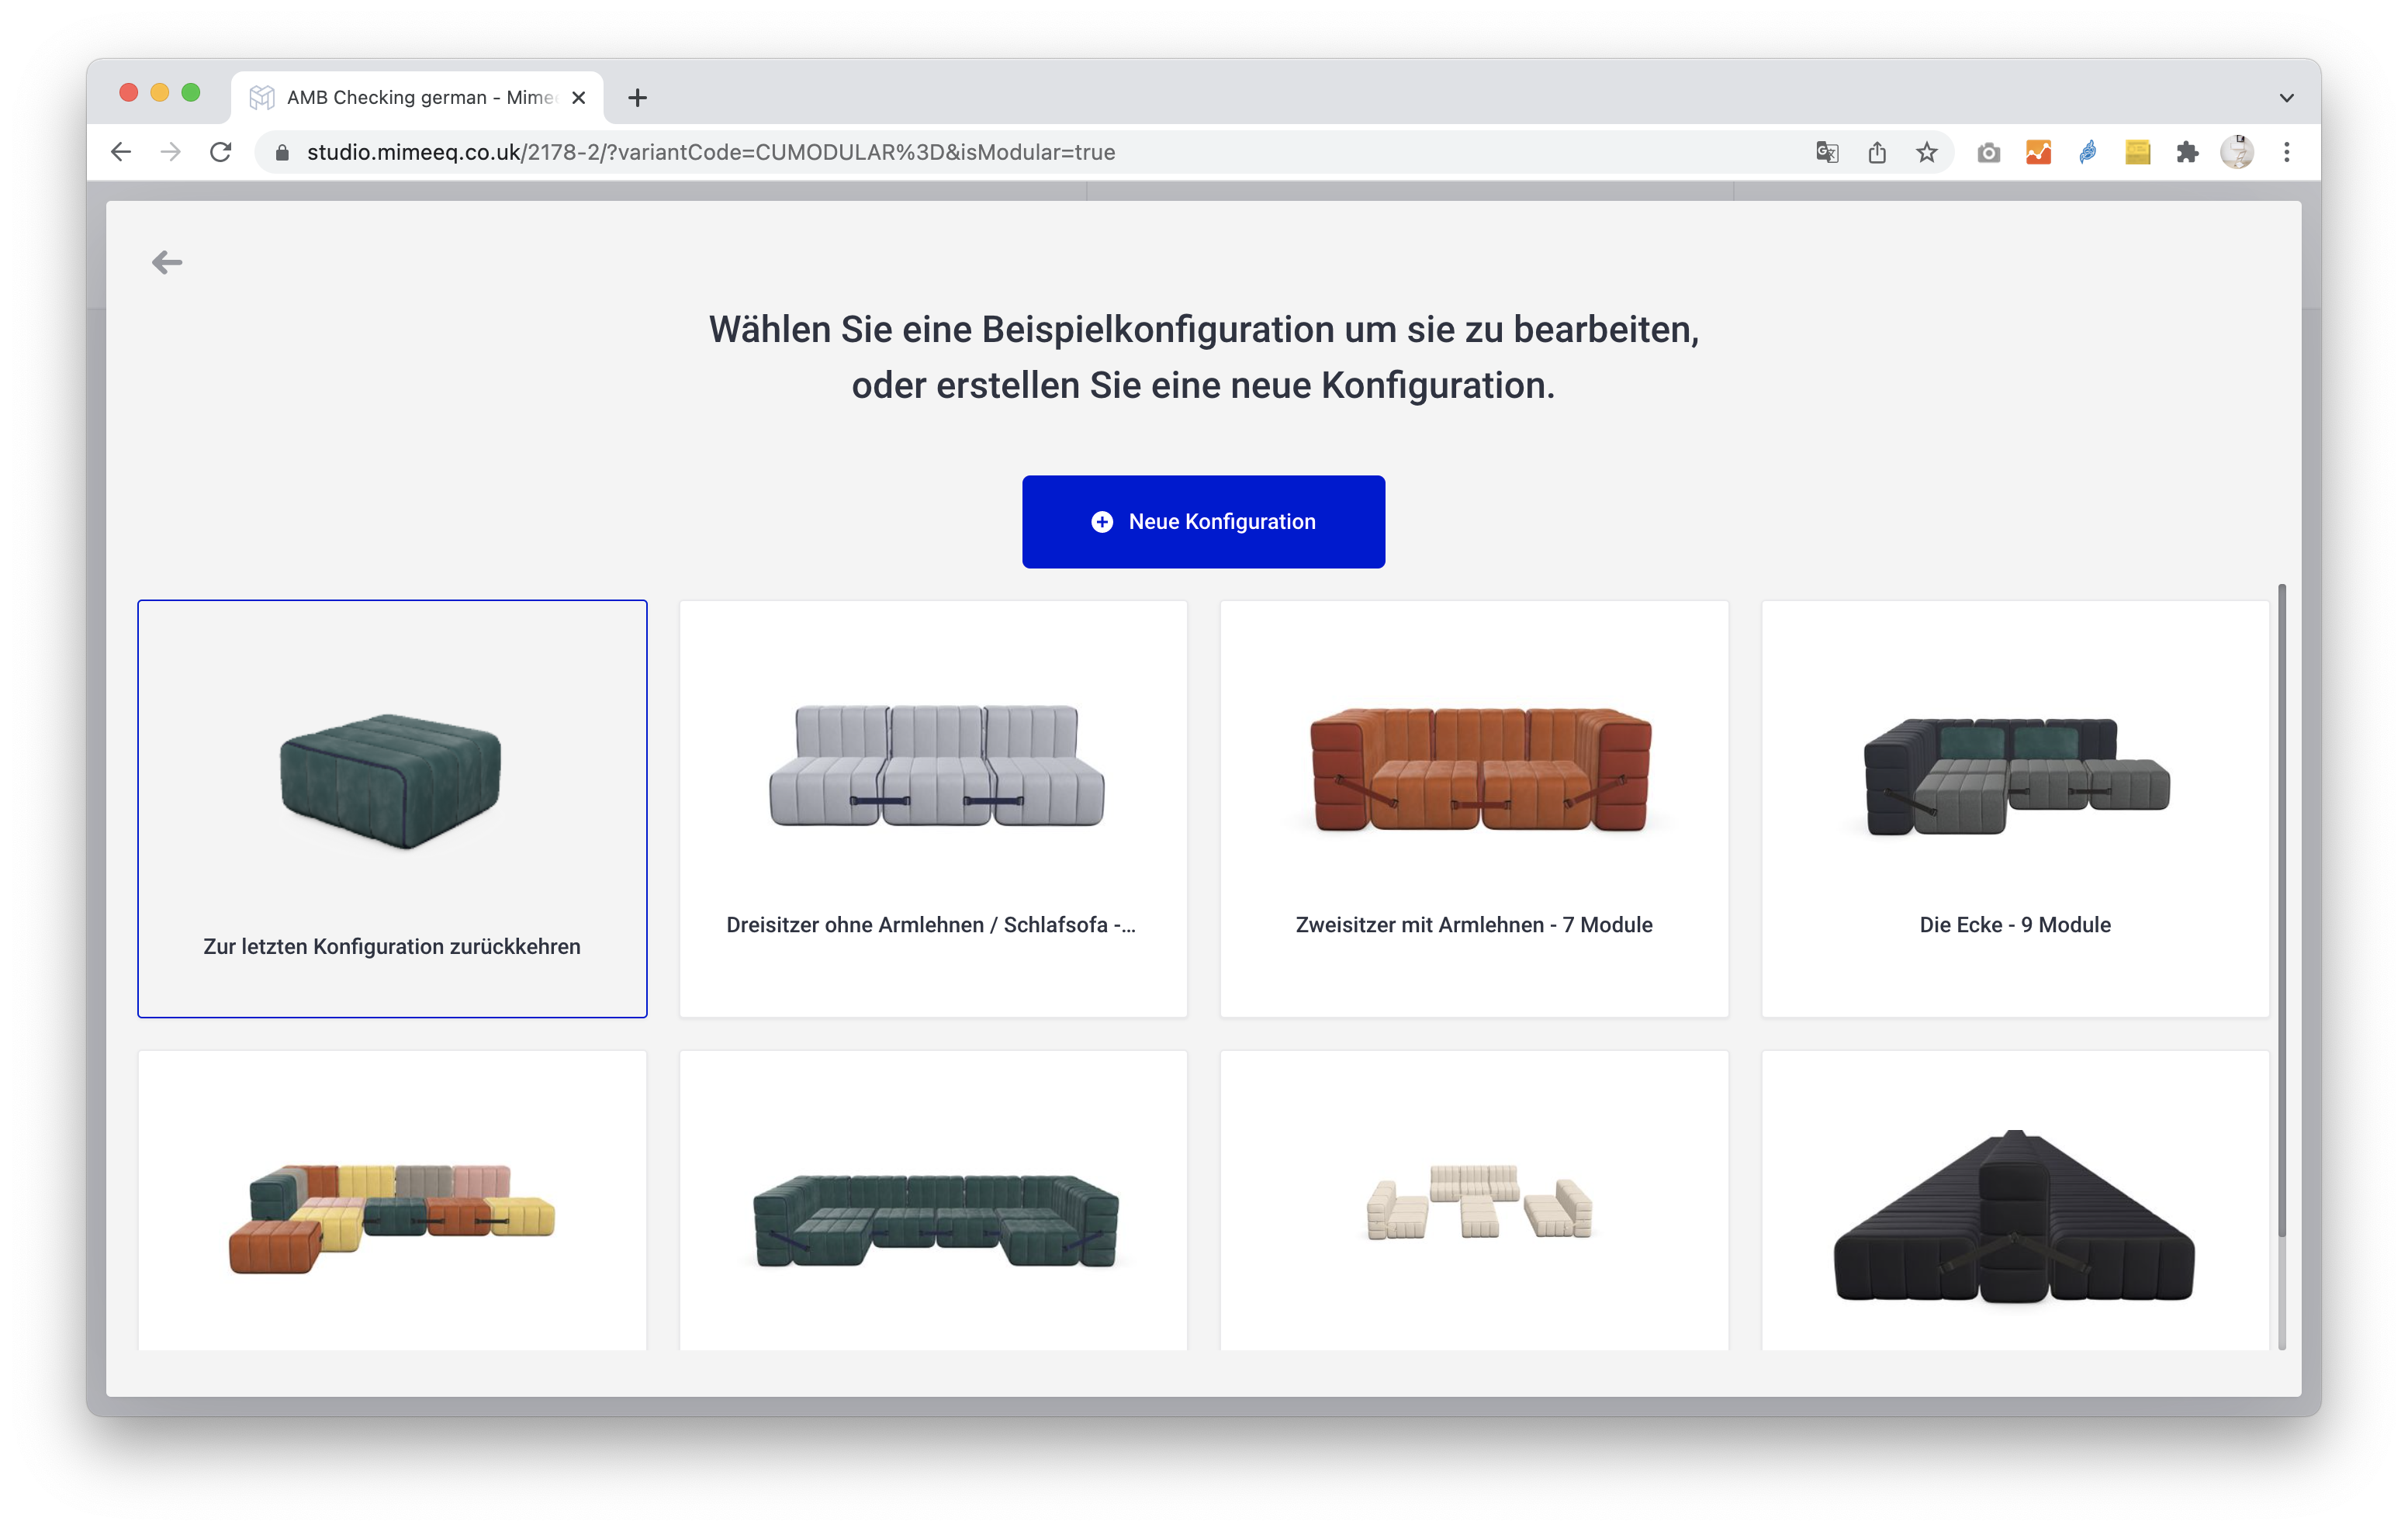
The following options are available to start the configurator:


There are two ways in which you can add elements.


If you want to make changes to your configuration, you have two options:

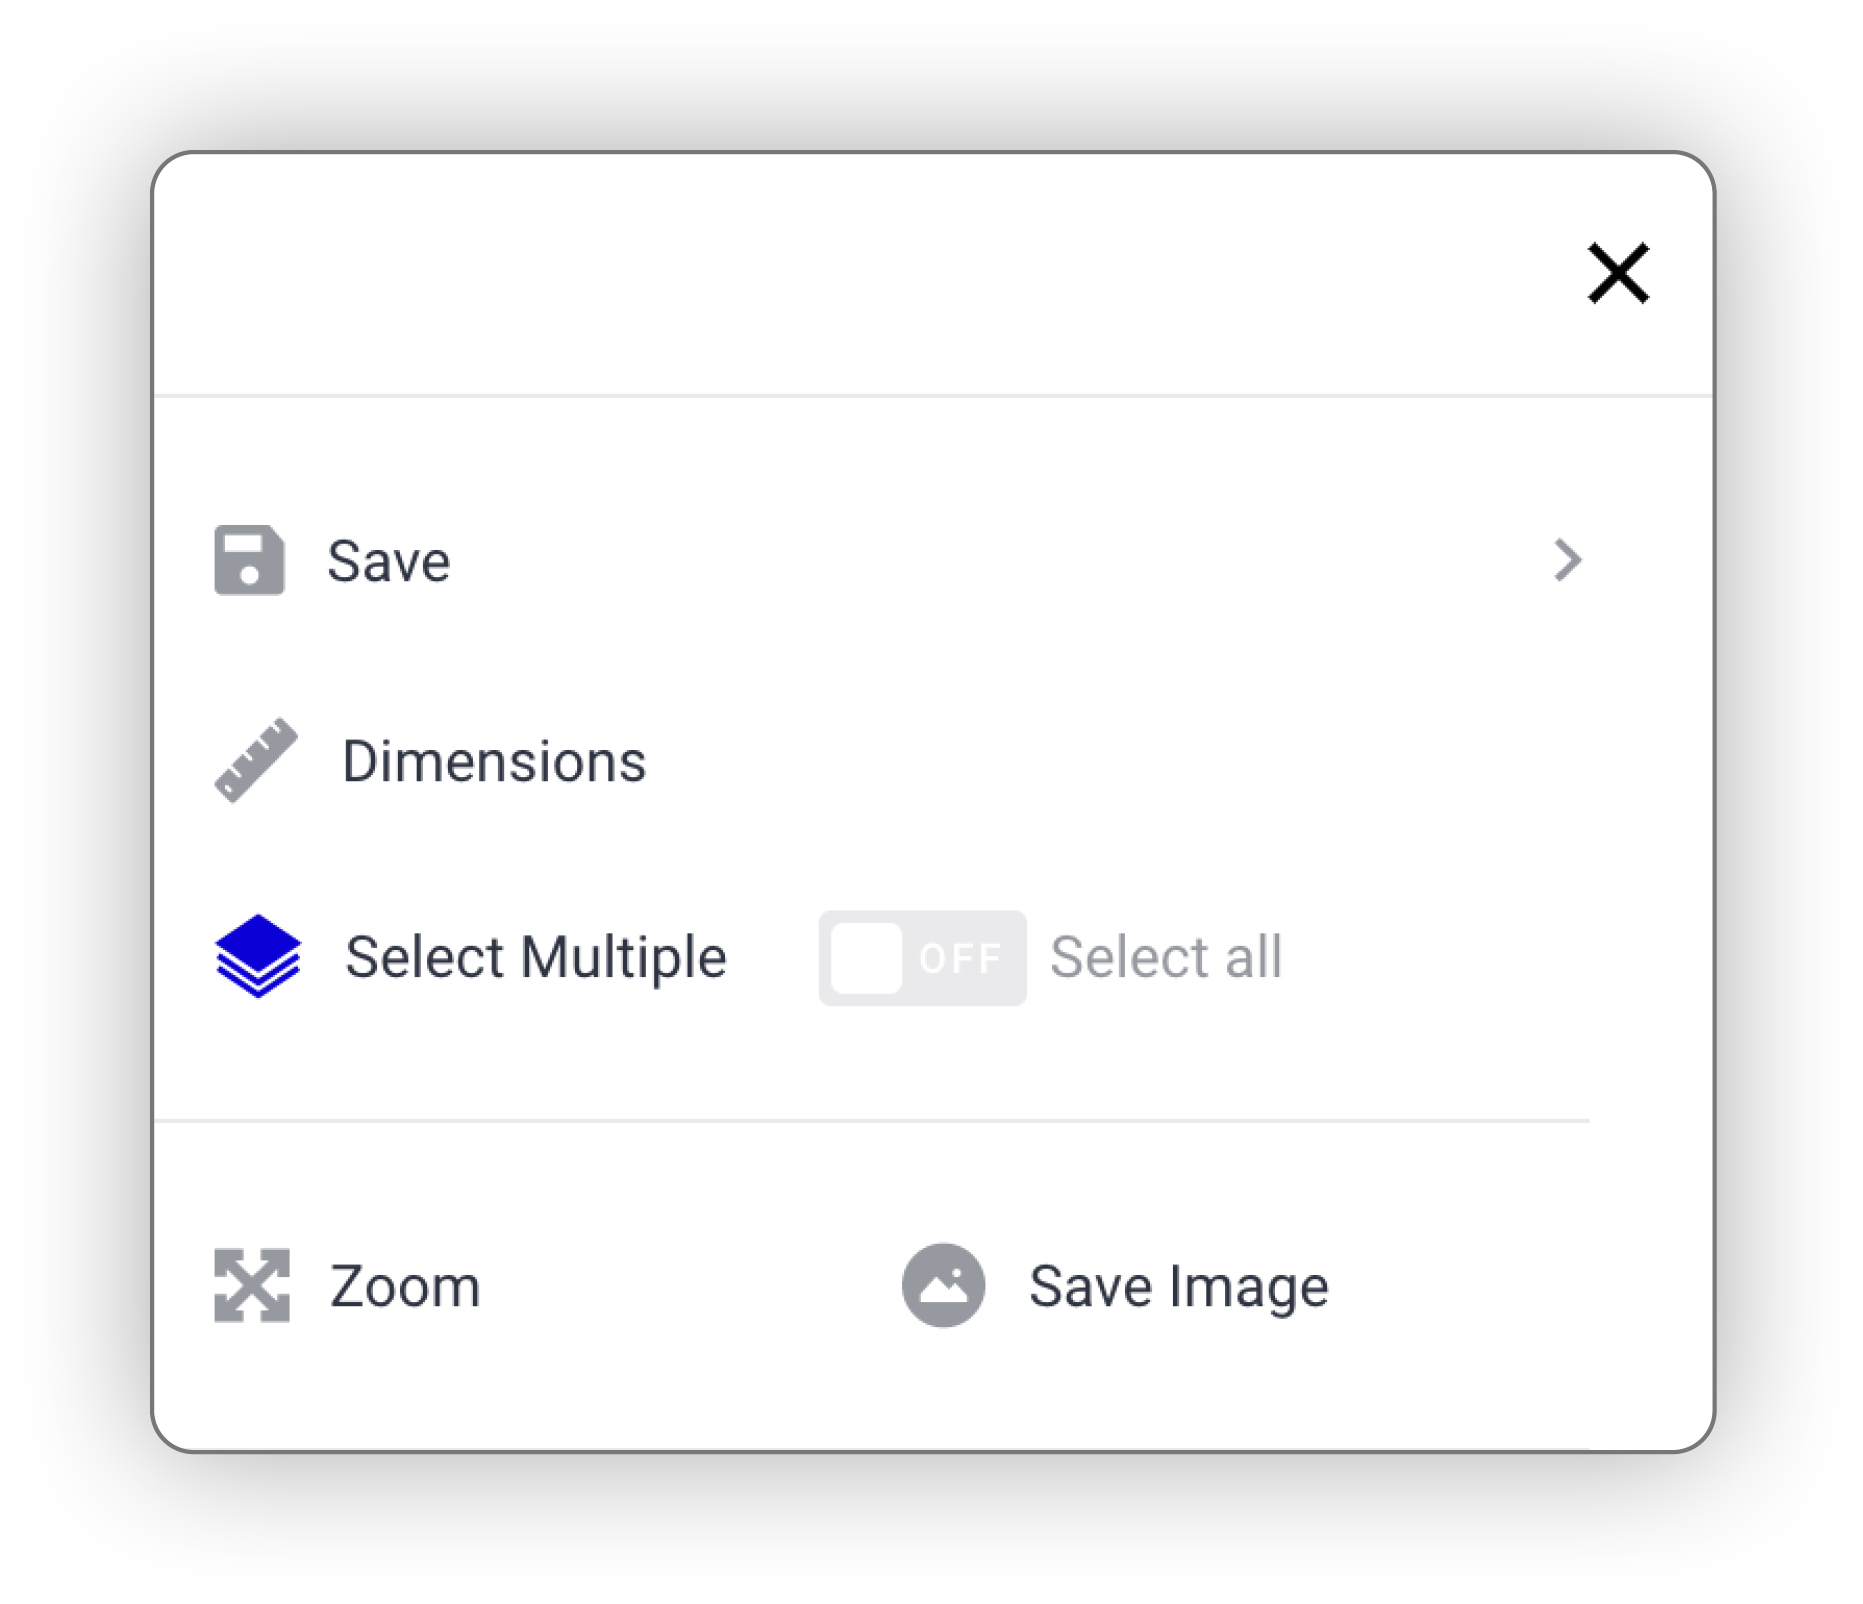
Click on the “Configure object” button to open a side window where you can define the following points.
Now you have the choice between two modes:
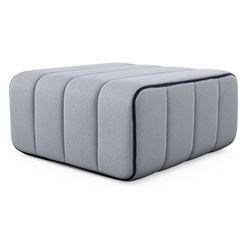
All modules in the configuration have the same fabric and the same color. Zippers and straps are automatically color-matched to the respective fabric.
Cover fabrics and colors, as well as the colors of the zippers and straps can be customized.
Both fabric halves of the selected modules use the same material and the same color. The zipper can still be determined individually.
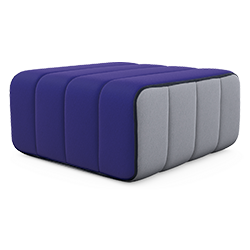
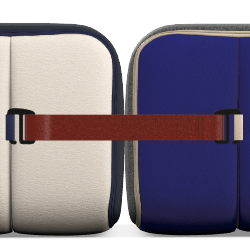
The two halves of the cover can use different cover fabrics and colors. The colors of the zippers and straps can also be customized.
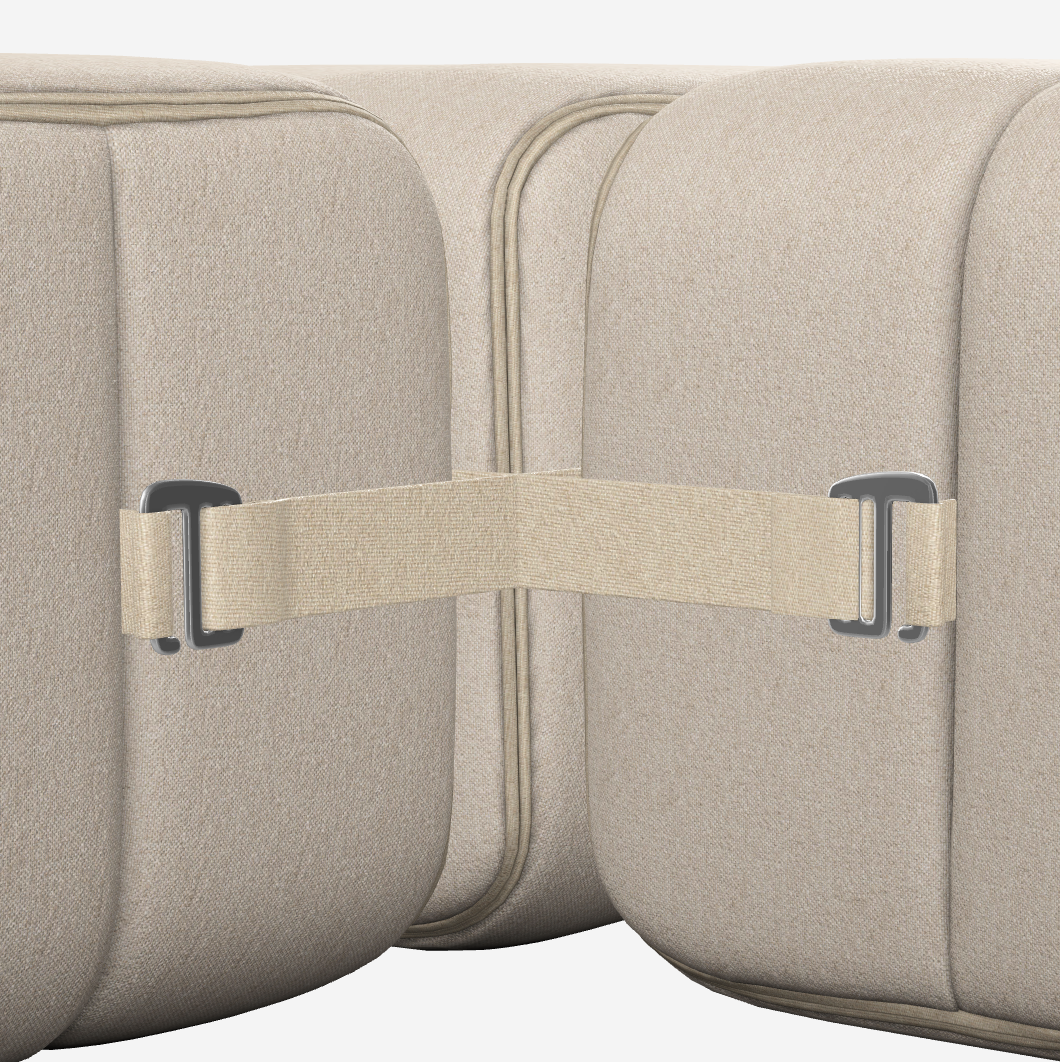
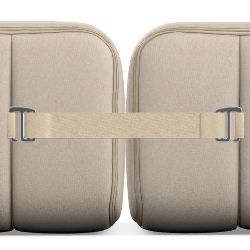
All straps and attachment loops of the entire configuration have the same color.
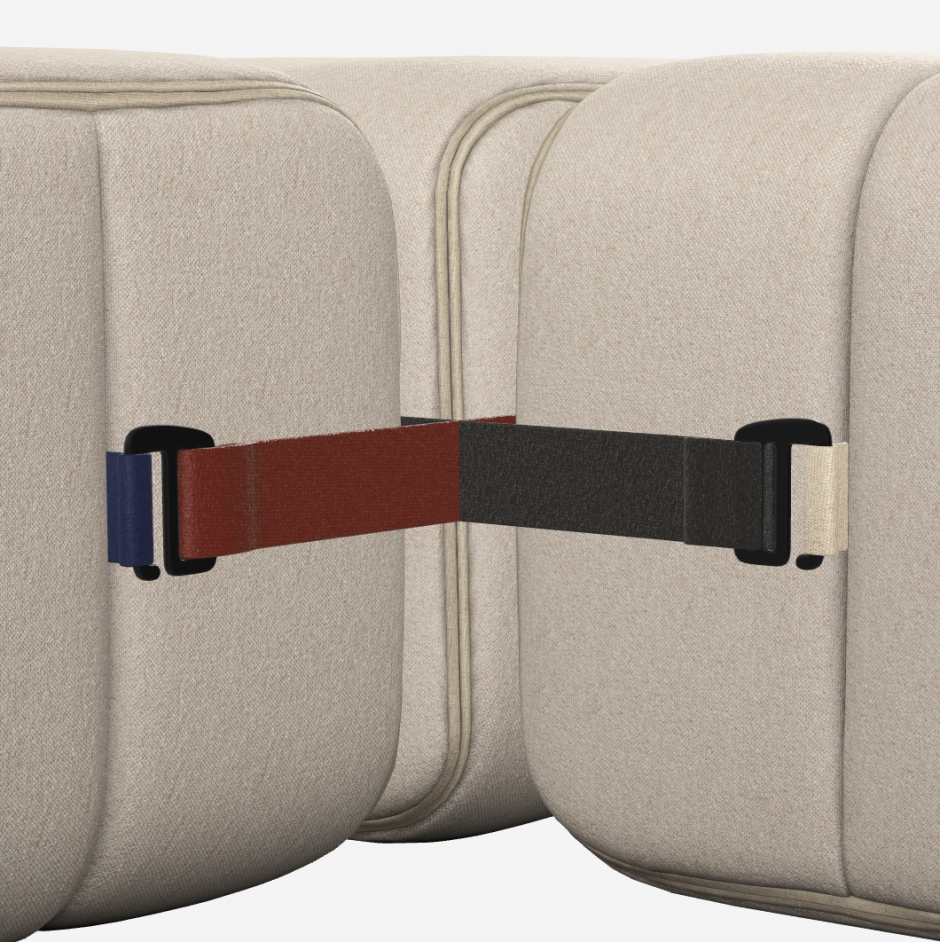
The colors of all straps and loops can be individually adjusted.
ATTENTION, this option is only partially orderable, please note that in this mode the loops attached to the modules always have the color of the selected zipper of the selected module. For technical reasons, the configurator cannot display this.


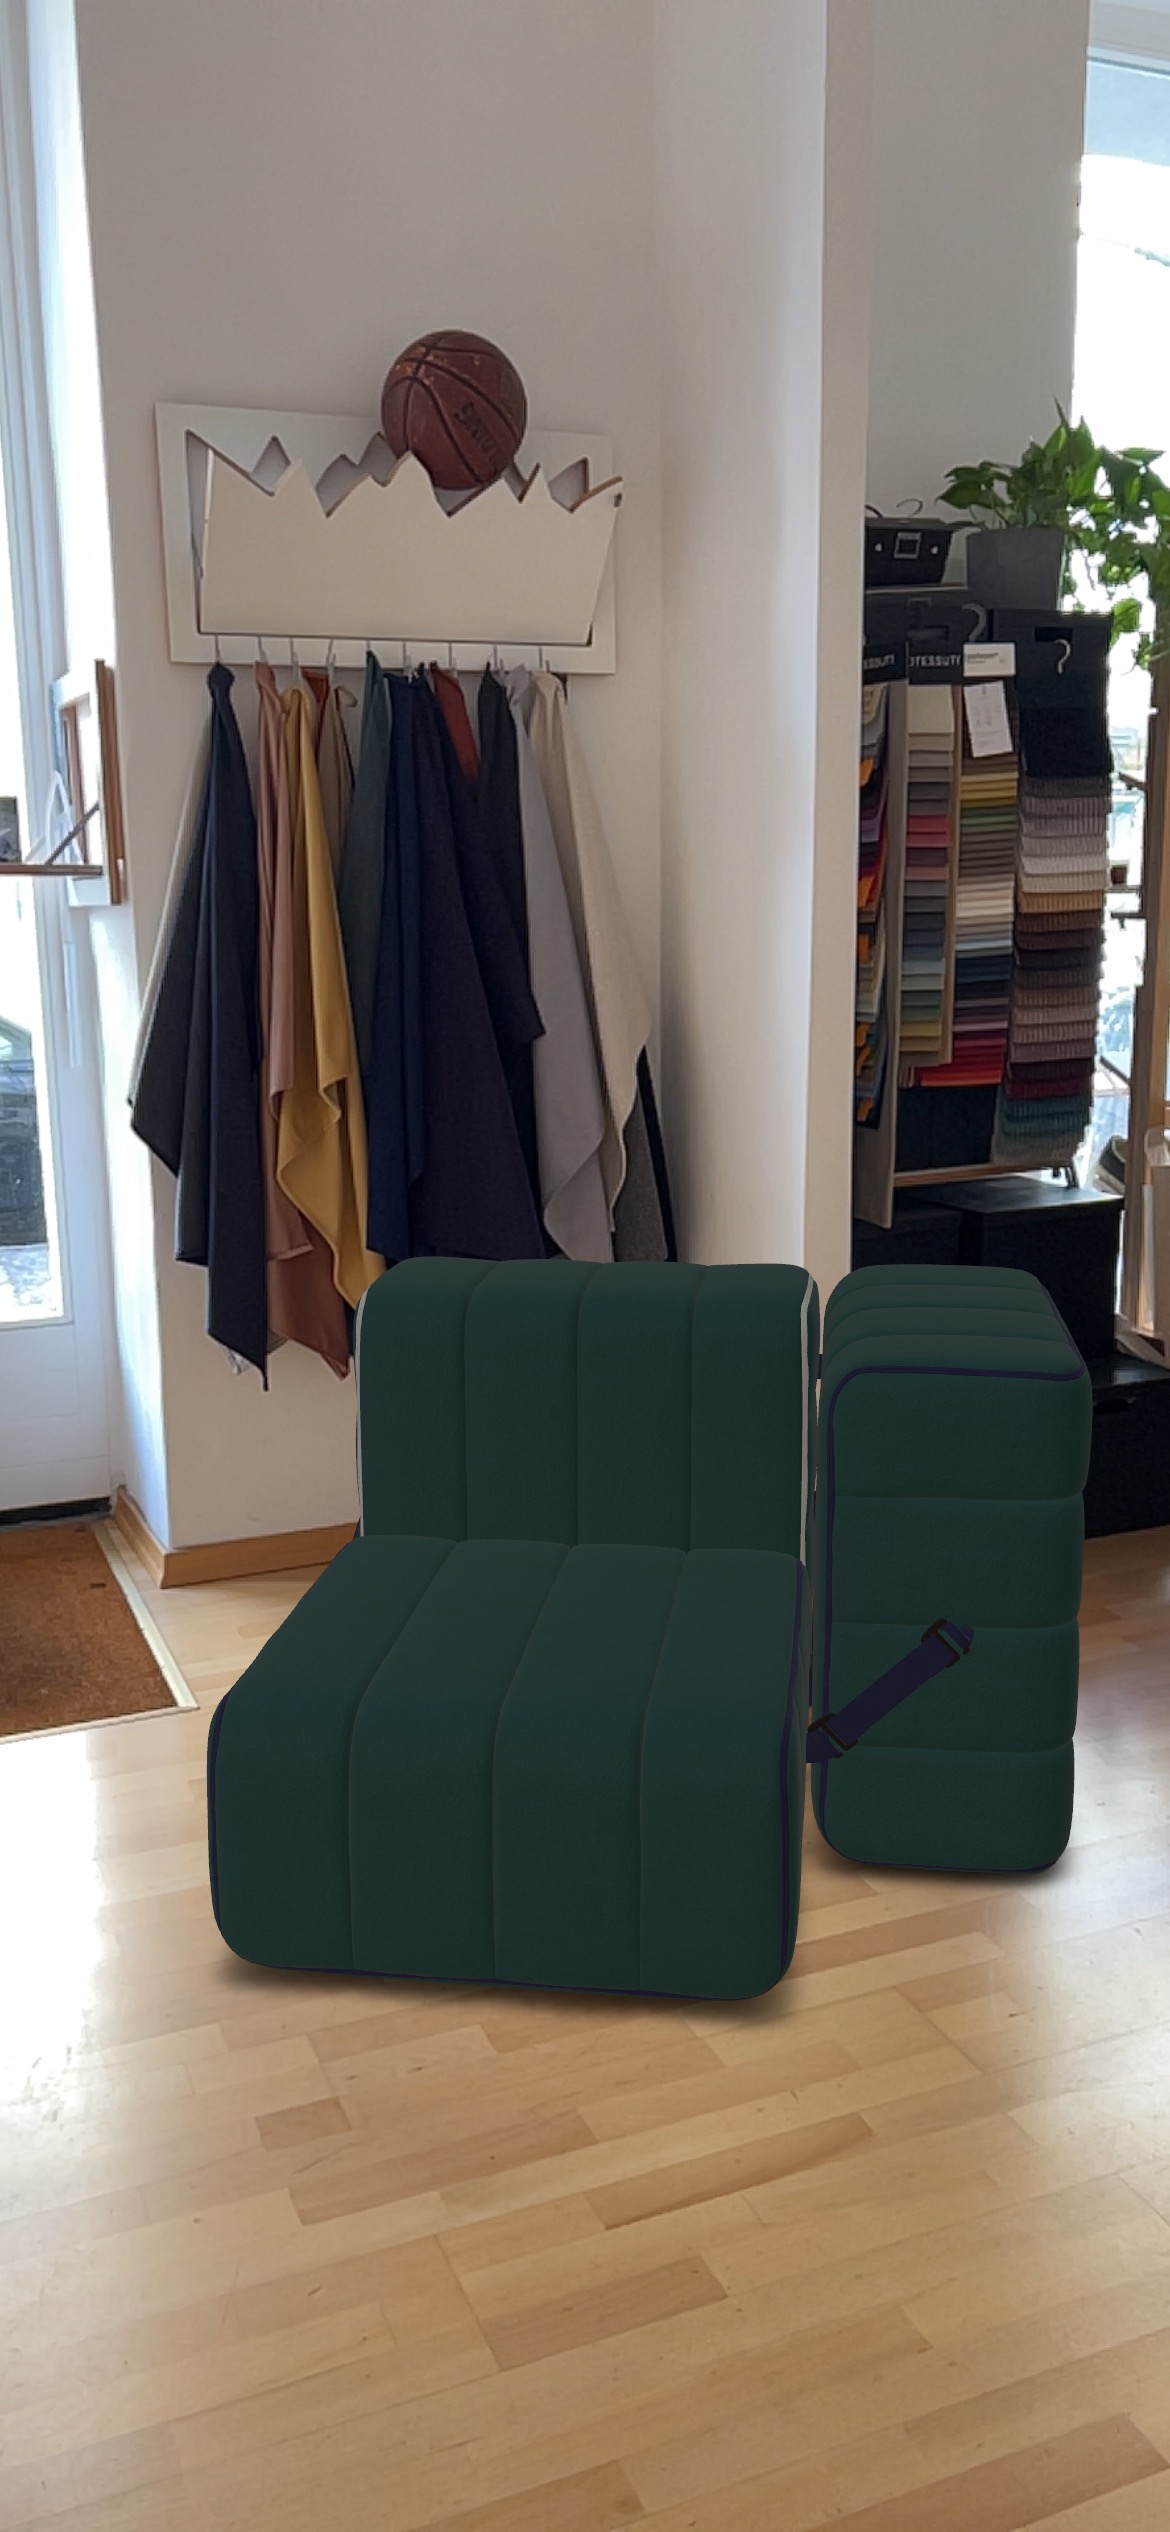
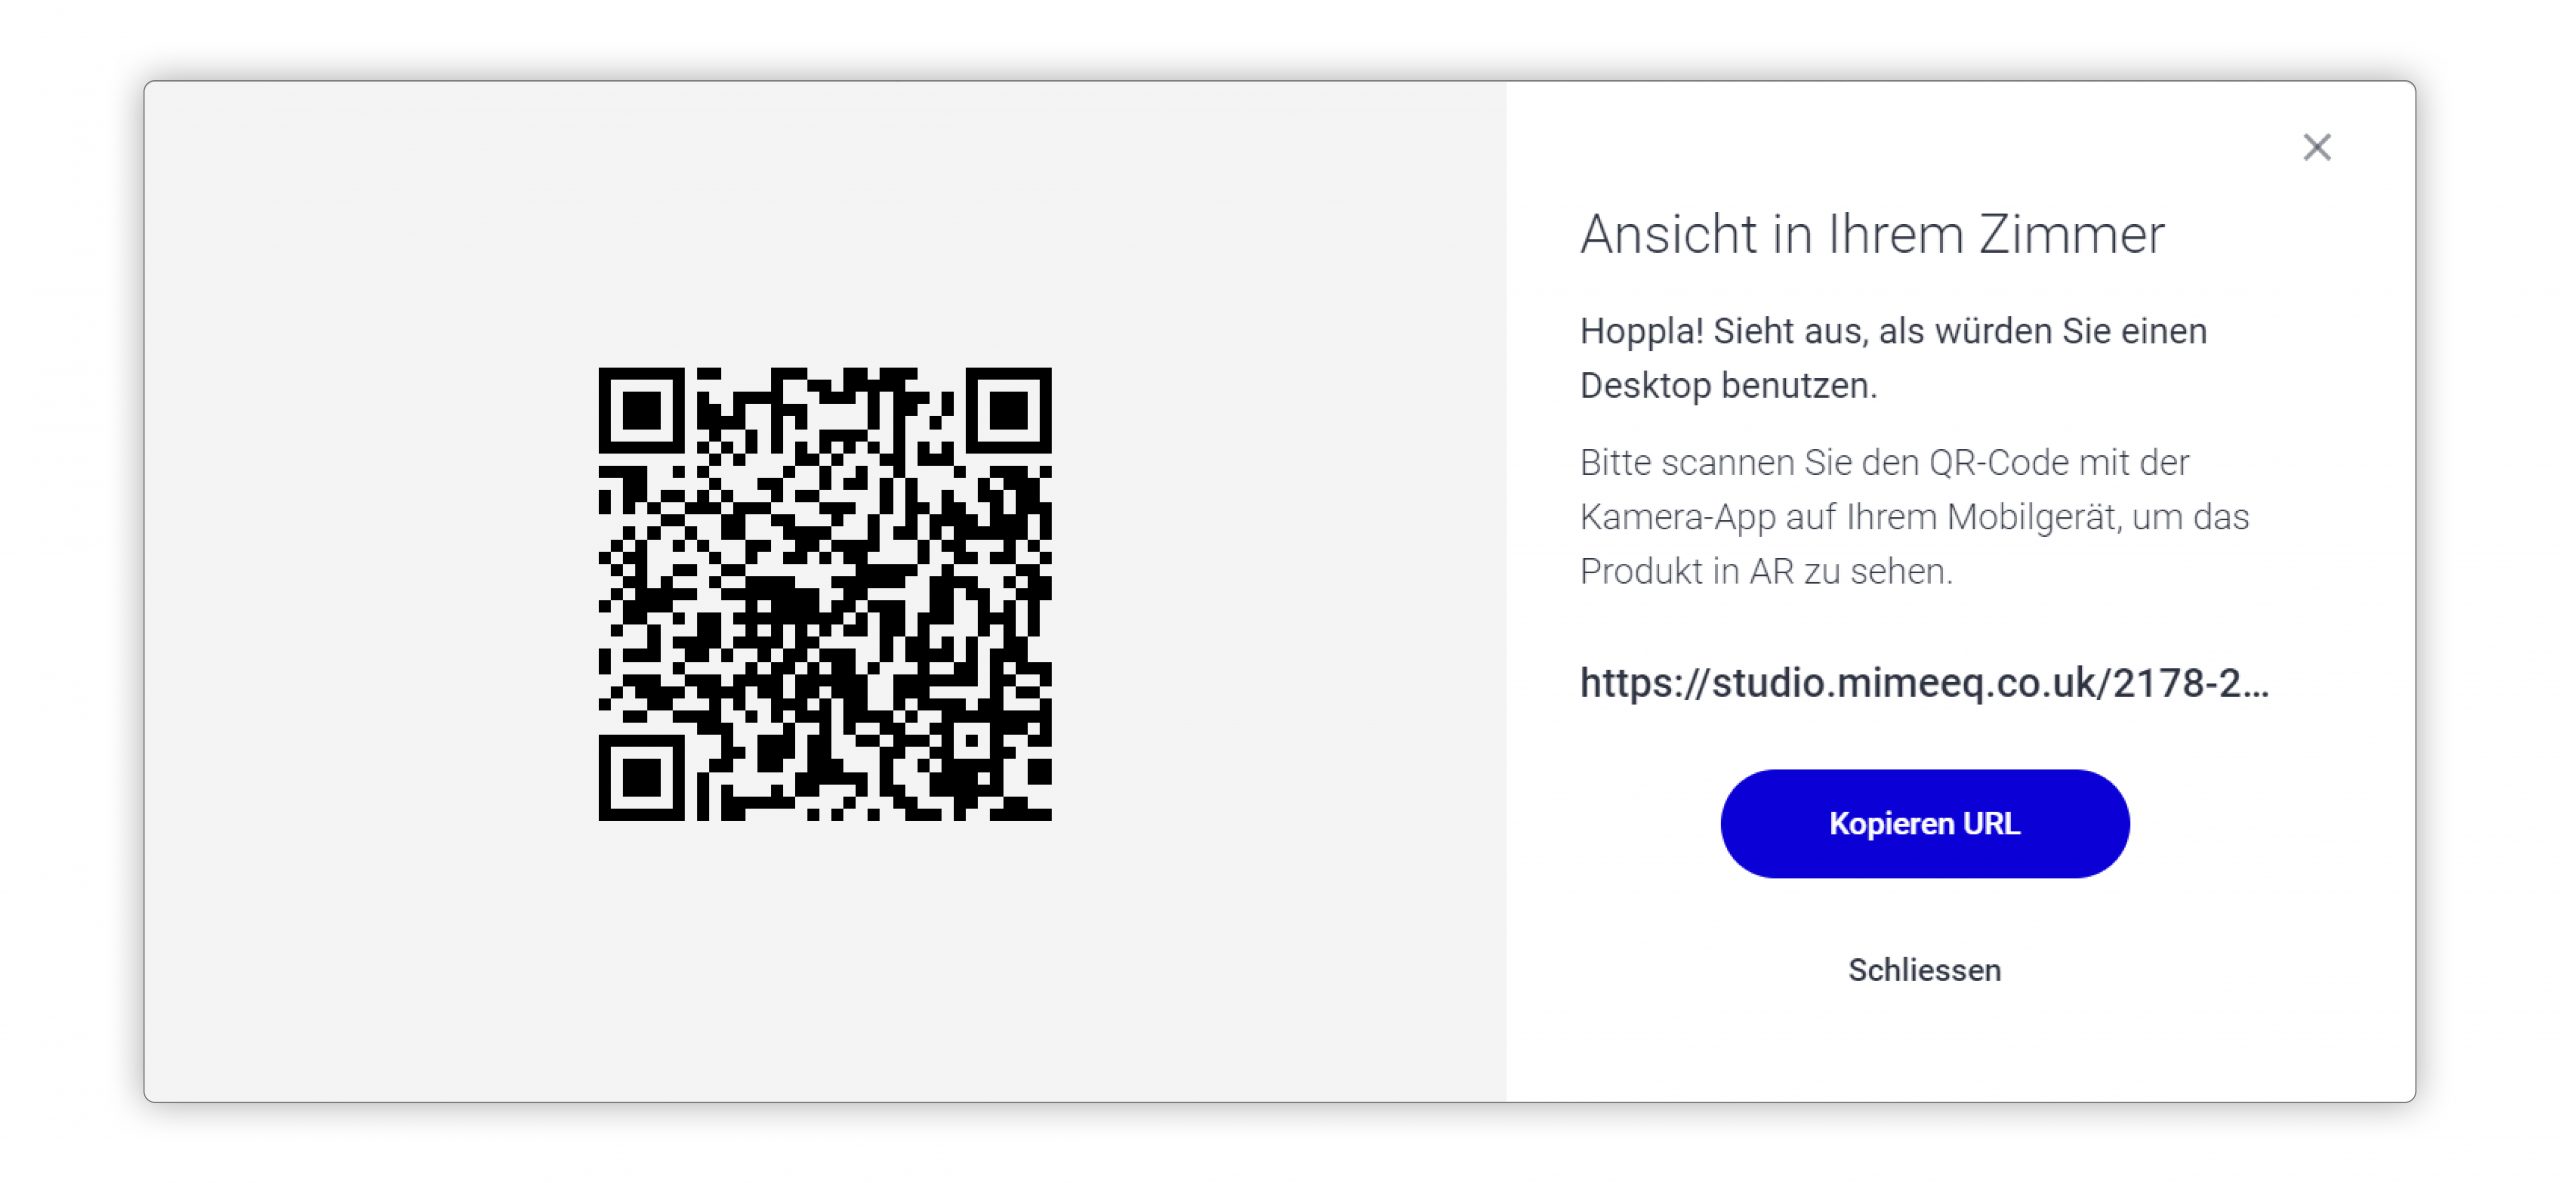
It’s really easy. View your configuration in your room with the help of augmented reality on your smartphone. Simply scan the QR code and follow the instructions on your smartphone and you’re ready to go!


 DE
DE FR
FR